Make Your Own Homemade DIY Ringflash
Recently I found a great tutorial on how to make your own, homemade DIY ringflash. I've put all the links I used as inspiration at the bottom of the post and well worth checking out!. After a quick googling on the alternatives (of which there are some great ready-to-buy-DIY budget options) I decided to bite the bullet and get all Blue Peter on it's ass. Off I staggered to the kitchen and raided the tupperware drawer and the recycling I was ready to rock.
homemade DIY ringflash
What is a Ringflash?
For those unaware, a ringflash is a circular flash that attaches around the lens of the camera. Commonly found in fashion photography, it's characterised by soft even shadows around a subject plus the giveaway 'ring' catchlights in eyes and reflective materials. Smaller versions are also used in macro photography. The large fashion, camera-mounted variants retail in excess of £1000GBP. The version i'm making cost only a few pounds. I managed to finish the contraption off tonight plus shoot some testers before I use on a more proper shoot later this week.
So, what do you need?
Large tupperware/plastic bowl
Small tupperware / plactic bowl (to go inside the larger bowl)
Tube
Wide gaffa tape / black electrical tape (gorilla tape is great)
Glue (i used kids gloy-gum)
Aluminium foil
Scalpel / craft knife
Electric drill (this helped making some of the cutouts in the large bowl)
More details can be found on this great blog post
The finished article
Ok, about 2 hours later, this was the result. Looks pretty nifty and the black duct / gorilla tape will hide a multitude of sins...
My completed DIY homemade ringflash
Camera settings
Camera set to manual / ISO 100 for most / flash set to TTL for this first outing - you should be able to let the camera work out the flash power to properly illuminate the subject and then you use (in the usual fashion) combinations of aperture, speed and ISO to expose for the scene. I shot with my usual Nikon D300s and SB900 speedlight (FYI - speedlight is Nikon's name for it's portable flash system) (set to remote) / 50mm 1.8mm Nikkor lens. The flash was triggered successfully by the pop-up commander flash, despite it virtually touching the back of my dish.
Update - when I shoot again I will be using my TTL extension cable that is approx 30cm long (coiled) rather than use the internal flash to trigger the speedlight.
Let's shoot!
All subjects against the wall were placed about 20 - 30 cm from wall (apart from cat - which i chased around for about an hour). Note the even and consistent shadow around the subject and the halo catchlight in the eyes- these are the characteristic marks of a ringflash at work.
Transformer
My cat
Crazy eye still life
Old school camera
alxmls_homemade_ringflash_test10
Above shot at f1.8 and below at f9.0 on 50mm 1.8 Nikkor lens
alxmls_homemade_ringflash_test11
Mr T bobbly head
'Crazy fool'
Tighter ‘T’
'Don't give me no back talk sucka!'
Lucky cat
Lucky cat says 'meow'
Purrrrfect
Soda syphon
Money plant
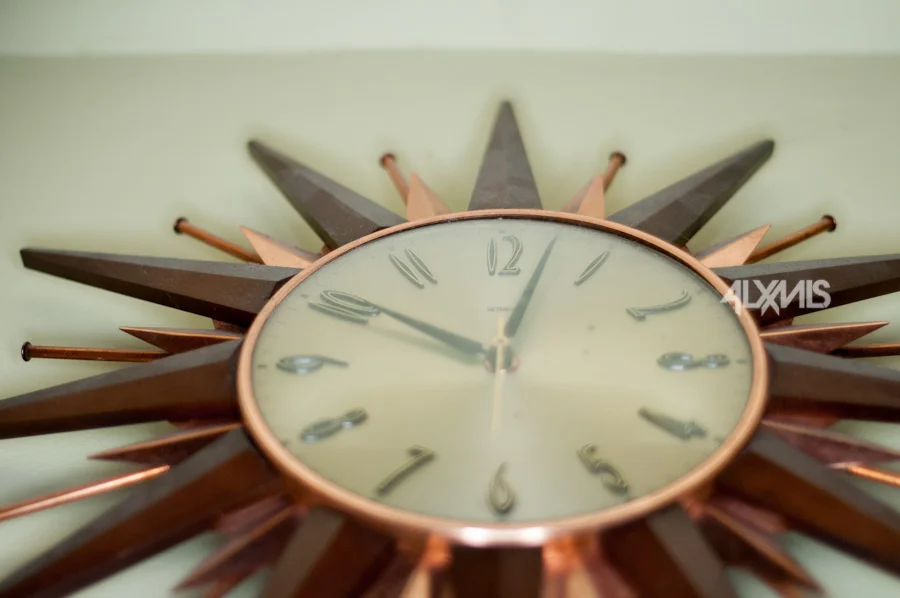
Vintage light
The cat gets everywhere
Ring catchlights = win!
Zach (above) shot again this morning at 18mm / f.2.8 / with +1 on the flash
Shoot with Ethel Fletcher with ringflash (note eyes) - view full shoot
Results
From a first outing i was really impressed. One thing to remember is that the results were slightly underexposed by 1 stop to 1 1/3 but i easily sorted this in lightroom (next time i'll meter this in to camera/flash). This is similar to what you'd expect from bouncing the flash of ceiling/walls with your speedlights. There's a few things i'll be doing to make my ringflash a bit more sturdy and to ensure it is perfectly perpendicular to the subject - but the fundamentals work great.
Interested?
Check out these great articles on how to go about making your own and also how to use:
http://digital-photography-school.com/how-to-make-a-diy-ring-flash-tutorialhttp://strobist.blogspot.co.uk/2006/12/ubercheap-ring-flash-cereal-box.html
http://digital-photography-school.com/7-creative-ways-to-use-a-ring-flashhttp://strobist.blogspot.co.uk/2008/10/on-axis-fill-ring-fill-against.html


