
Simple Beauty Lighting Setup for Portraits
Simple beauty lighting for portraits tutorial
This is a great simple beauty lighting setup for portraits. Its called a beauty (or glamour) lighting setup because it is aimed at revealing the skin and the 'beauty' of the subject.
In addition to getting great results, you also only need very minimal kit. The flash head with softbox will be the only light source used and will primarily light the subject and fall off light will illuminate the background to a lesser degree.
You will need:
Camera (with minimum 50mm lens)
One flash head
Softbox (whatever you have)
Reflector* (white/silver reversable ideal)
Backdrop (wall / backdrop / fabric / whatever)
*You can use large white card or foil
The Setup

Simple beauty lighting setup for portraits
1. Position your subject approx 2 metres from your backdrop. The further away the subject, the darker the backdrop.
2. Position the light and softbox directly in front of and above model. It should be approximately 45 degrees pointing down towards model. Start off with lowest power as we are pretty close to the model.
It will feel like you are literally shooting through a very tight gap, and this is what you are supposed to be doing, so don't worry. This is also why a lens of 50mm and larger is beneficial.

shooting through the reflector and softbox
Above. Shooting through the softbox and reflector - you can see the gap is quite tight.
3. Position reflector underneath model, mirroring the angle - again at about 45 dgrees to the the subject.
4. Grab your camera and fire off a test shot. Try a starting manual setting (M) of 1/160 at f.5.6. If its too dark. You can lower the f-stop. If its too bright, increase f-stop.
5. Try shooting with the silver and white sides of the reflector to see the difference it makes to the lighting.
Some of my examples

Cherry - using our beauty lighting setup
Above. Cherry, still one of my favorite images. This image is visually brighter by using the silver side of the reflector. Cigarette smoke added in post.

20081001-DSC_0070-Edit-2
Above. Subject position away from wall about 2 metres. Notice shadow under nose reveals light position. A white reflector would have been used to pop back some light on the subject.
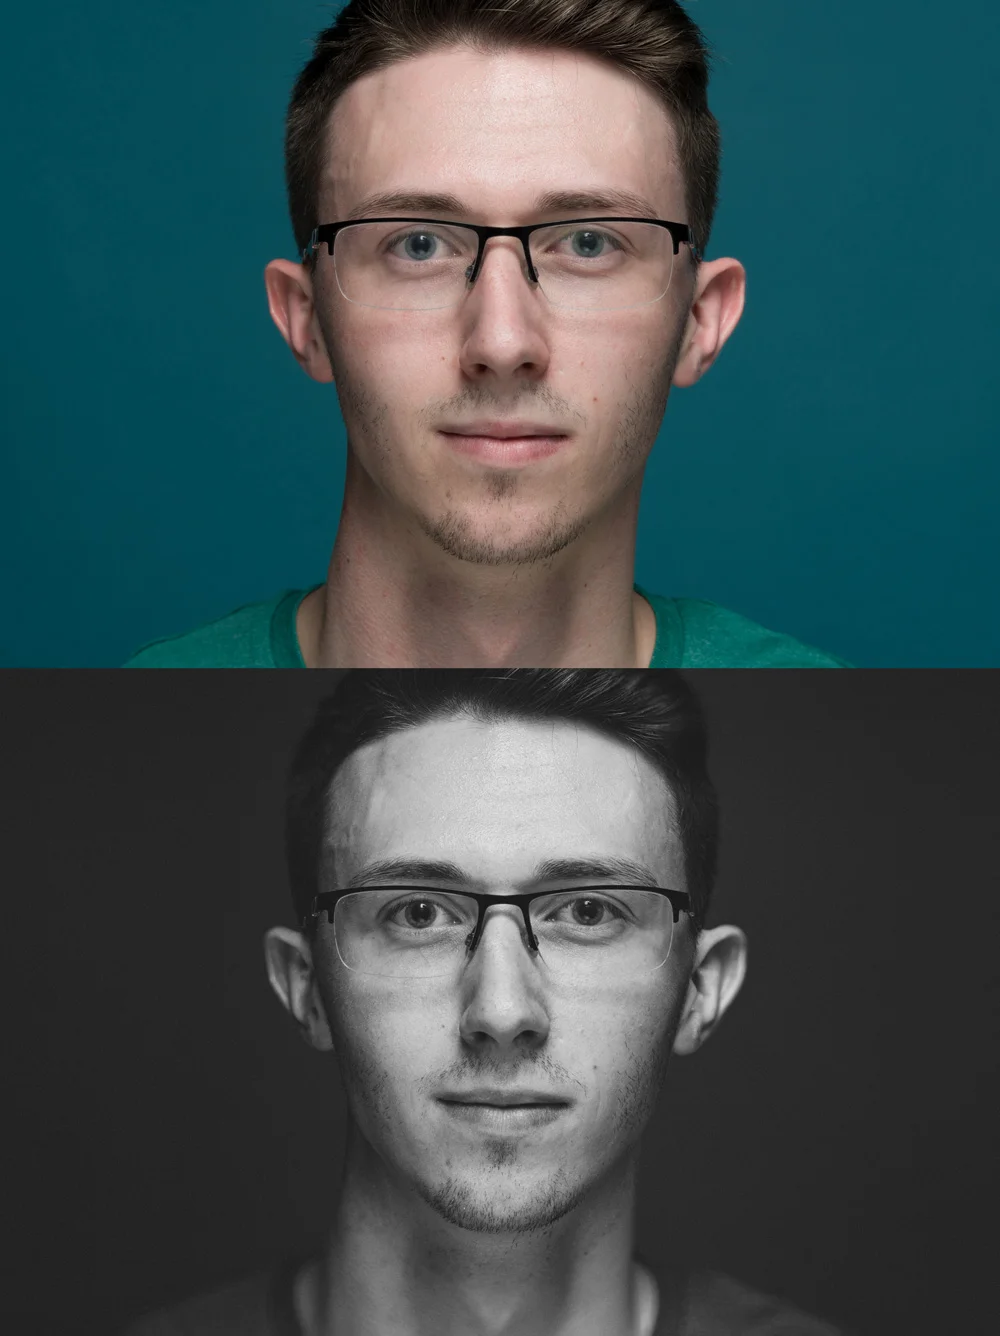
scott
Above. Shooting Scott as part of my recent lighting tutorial workshop. The top image is virtually straight out of lightroom, and the bottom more where I would push as a male portrait.

8457037397_1b2c690f3b_b
Above. Shooting Paige on location, there was a garage in the background which fortunately blurred out to reveal her skin and tone. Note the shadows coming in straight verticals.
If you are interested in getting hands on with studio lighting, I am running a final workshop for 2015 on 25 November. More details here.